Painting your wall unit with Maaike from de Interieurbar
Painting your wall cabinet with Maaike from De Interieurbar
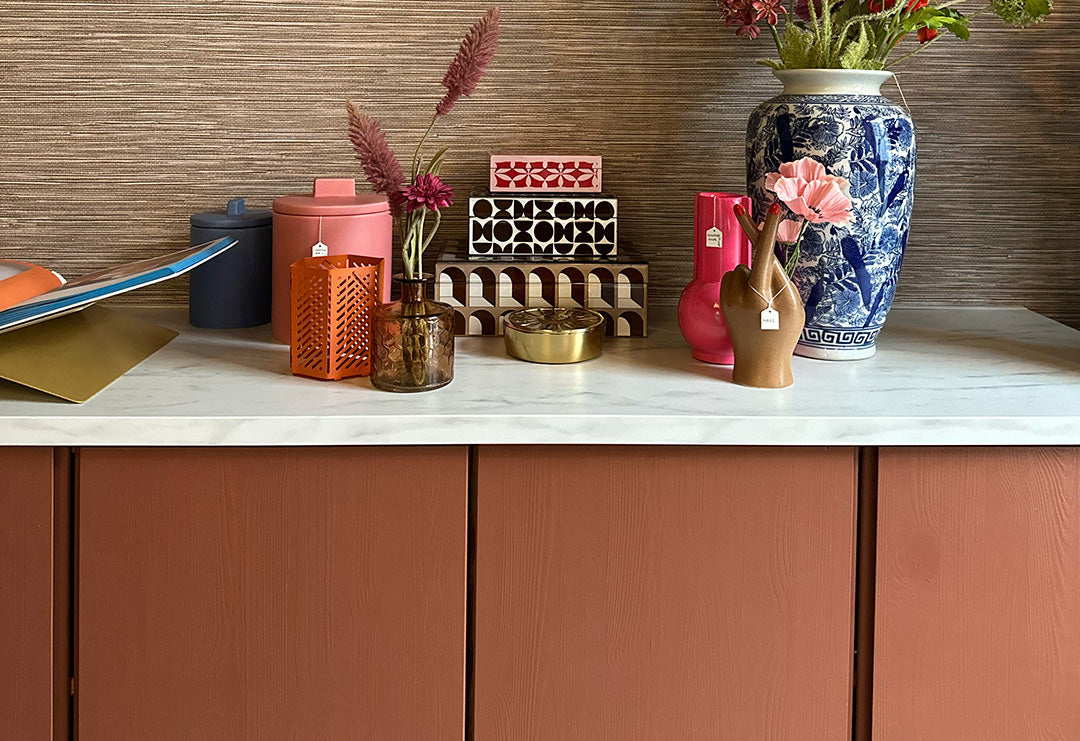
It’s no secret that I love change in my own interior. A small change can often make a big difference! This time, it was my wooden wall cabinet’s turn. It’s a great storage space for all my colour and material samples, but it could use some refreshing. What I love so much about these kinds of small projects is that they can be finished in a weekend and, with minimal cost and effort, still make a big impact.
A different colour can give a familiar cabinet a whole new character. This guide covers surface preparation, colour choice and applying the paint.
Step 1: Choose your colour consciously
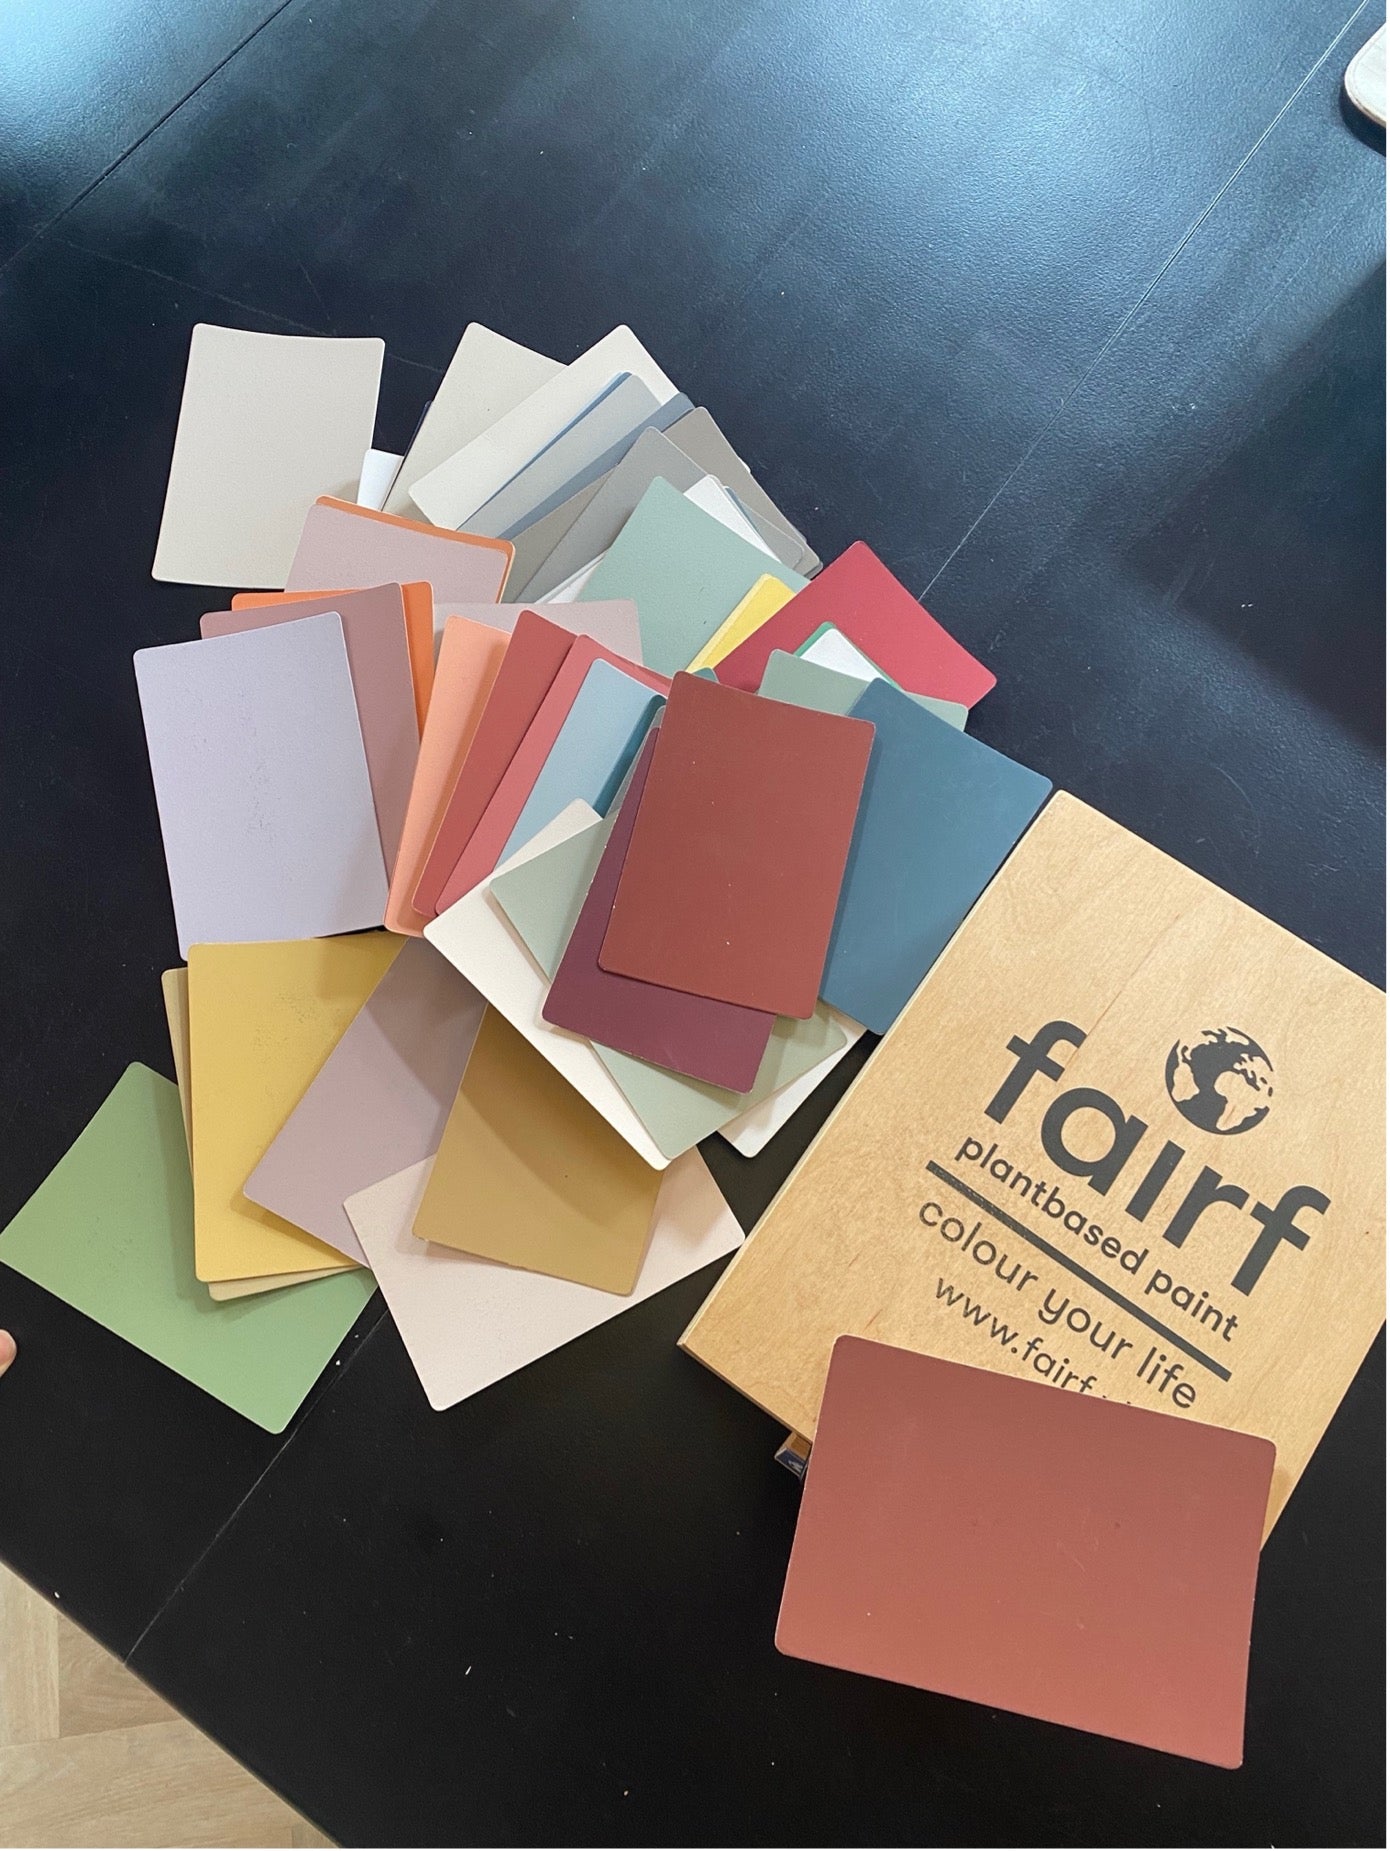
This cabinet was painted in Clay by fairf. The warm, earthy shade is subtly lighter than the ceiling, connecting the piece to the rest of the room.
Do you want your cabinet to blend into the rest of your interior? Then choose a colour that is close to the background, such as the wall behind it. But if you love an eye-catcher, go for contrast, as I did!
Do you want your cabinet to blend into the rest of your interior? Then choose a colour that is close to the background, such as the wall behind it. But if you love an eye-catcher, go for contrast, as I did!

clay
Step 2: Supplies
Before you begin, make sure you have everything at home. Here is my list:
- Primer (fairf)
- Wood & metal paint (fairf)
- Stirring stick
- Drop cloth/protective film
- Masking tape
- Brush
- Paint roller & frame
- Sandpaper (80 and 120-180 grit)
- Degreaser
- Cleaning cloths
- Paint can opener (essential!)
Step 3: A good start is half the battle
Before you start painting, proper preparation is essential. Clean and empty the cabinet and the area around it. Use a mild degreaser to remove dirt, grease, and dust so that the paint can adhere properly.
Tip: Choose a natural cleaning agent, such as a mixture of water and vinegar, as an alternative to chemical cleaners.
Step 4: Sanding for a smooth finish
Sanding the wood is crucial for a smooth coat of paint. Start with a coarse grit (80) if there are old layers of paint or varnish, and finish with a finer grit (120-180). Don't forget the corners and edges!
Tip: Use an electric sander for large surfaces and sanding blocks for the details. That saves time and ensures an even result.
Tip: Use an electric sander for large surfaces and sanding blocks for the details. That saves time and ensures an even result.
Step 5: Masking and covering
Make sure to cover the area around your cabinet to prevent paint splatters on the floor. Also, ensure you have some extra space for a "paint station." This is where you can keep all your supplies and have enough room to refill your paint tray. Mask edges with high-quality tape for a good result!
Tip: Many people choose disposable plastic for the floor, but you can also use cardboard (unfolded boxes) that you were going to throw away anyway, or a rug that you use for painting jobs.
Tip: Many people choose disposable plastic for the floor, but you can also use cardboard (unfolded boxes) that you were going to throw away anyway, or a rug that you use for painting jobs.
Step 6: Applying primer
Apply a layer of fairf multi-primer to ensure the paint adheres well. Use a brush for the small details and a roller for the large surfaces. Let the primer dry well.
Step 7: Lacquering
Now for the real work! Apply the fairf wood & metal paint in thin, even layers. Let each layer dry thoroughly before applying a new one. This prevents drips and ensures an even result.
Tip: Sand the cabinet lightly with very fine sandpaper (grit 220) between coats for a super-smooth finish.
Tip: Sand the cabinet lightly with very fine sandpaper (grit 220) between coats for a super-smooth finish.
Step 8: Cleaning up
If you work hygienically and seal the can properly, you can keep fairf for a while for your next project. Can empty? Once dried out, a fairf can can simply go in the trash.
Step 9: Let it dry and enjoy the result
Weather and temperature can affect drying time, so keep this in mind. In winter, for example, it takes longer for the paint to dry. Usually, fairf dries super fast, so that's a nice bonus!
The end result
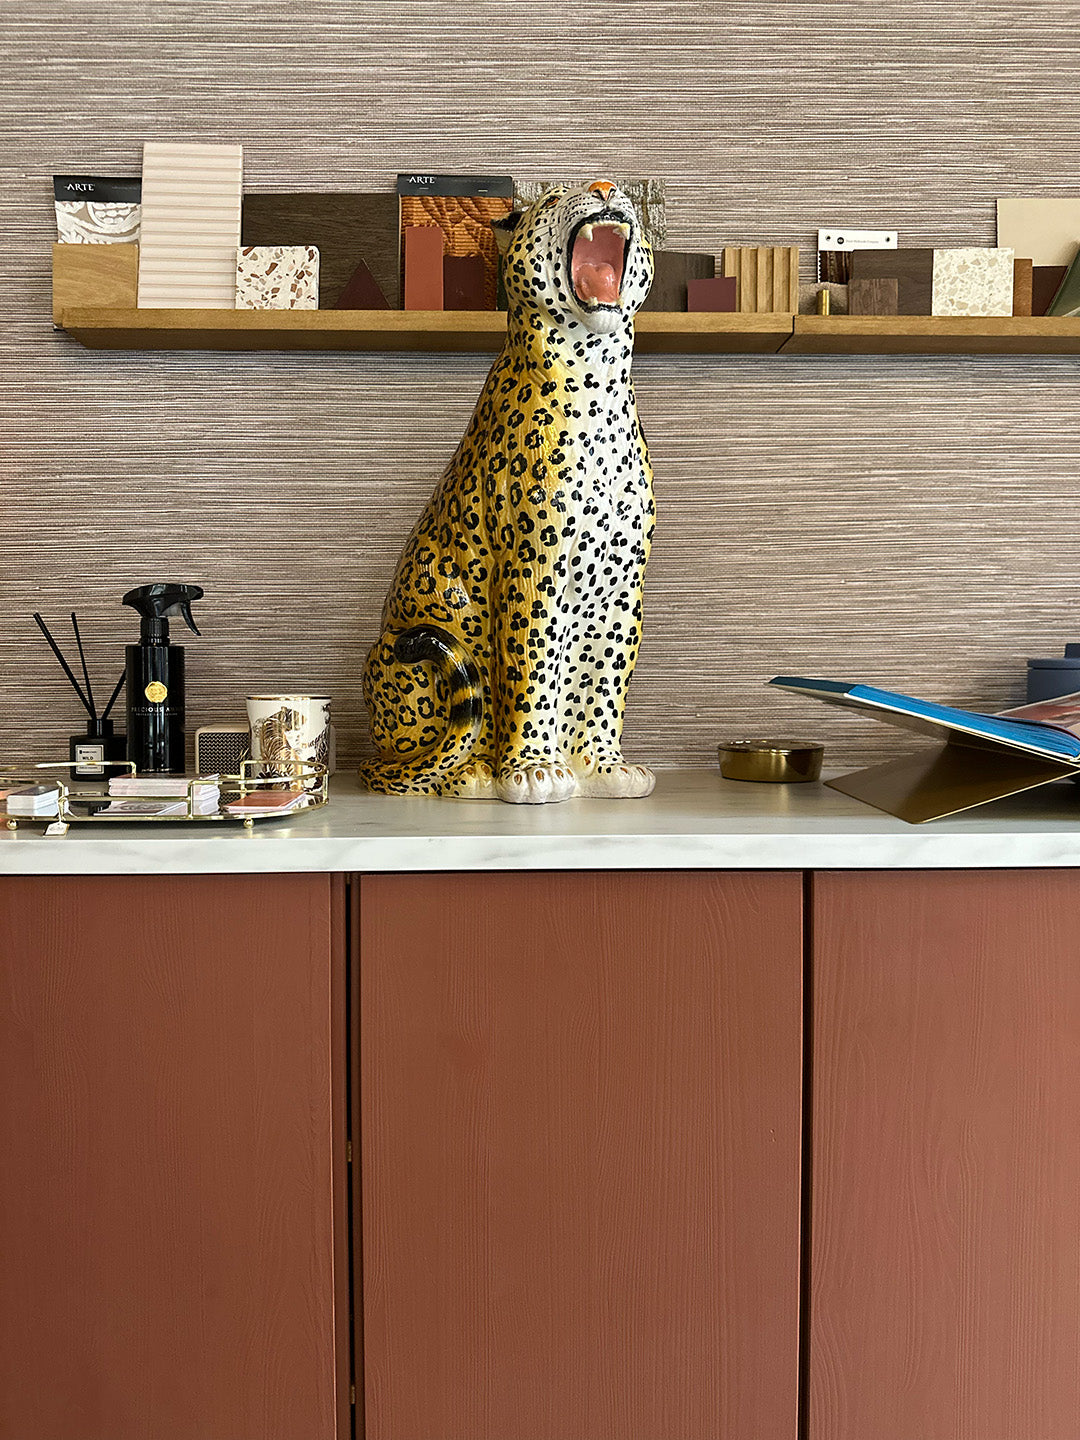
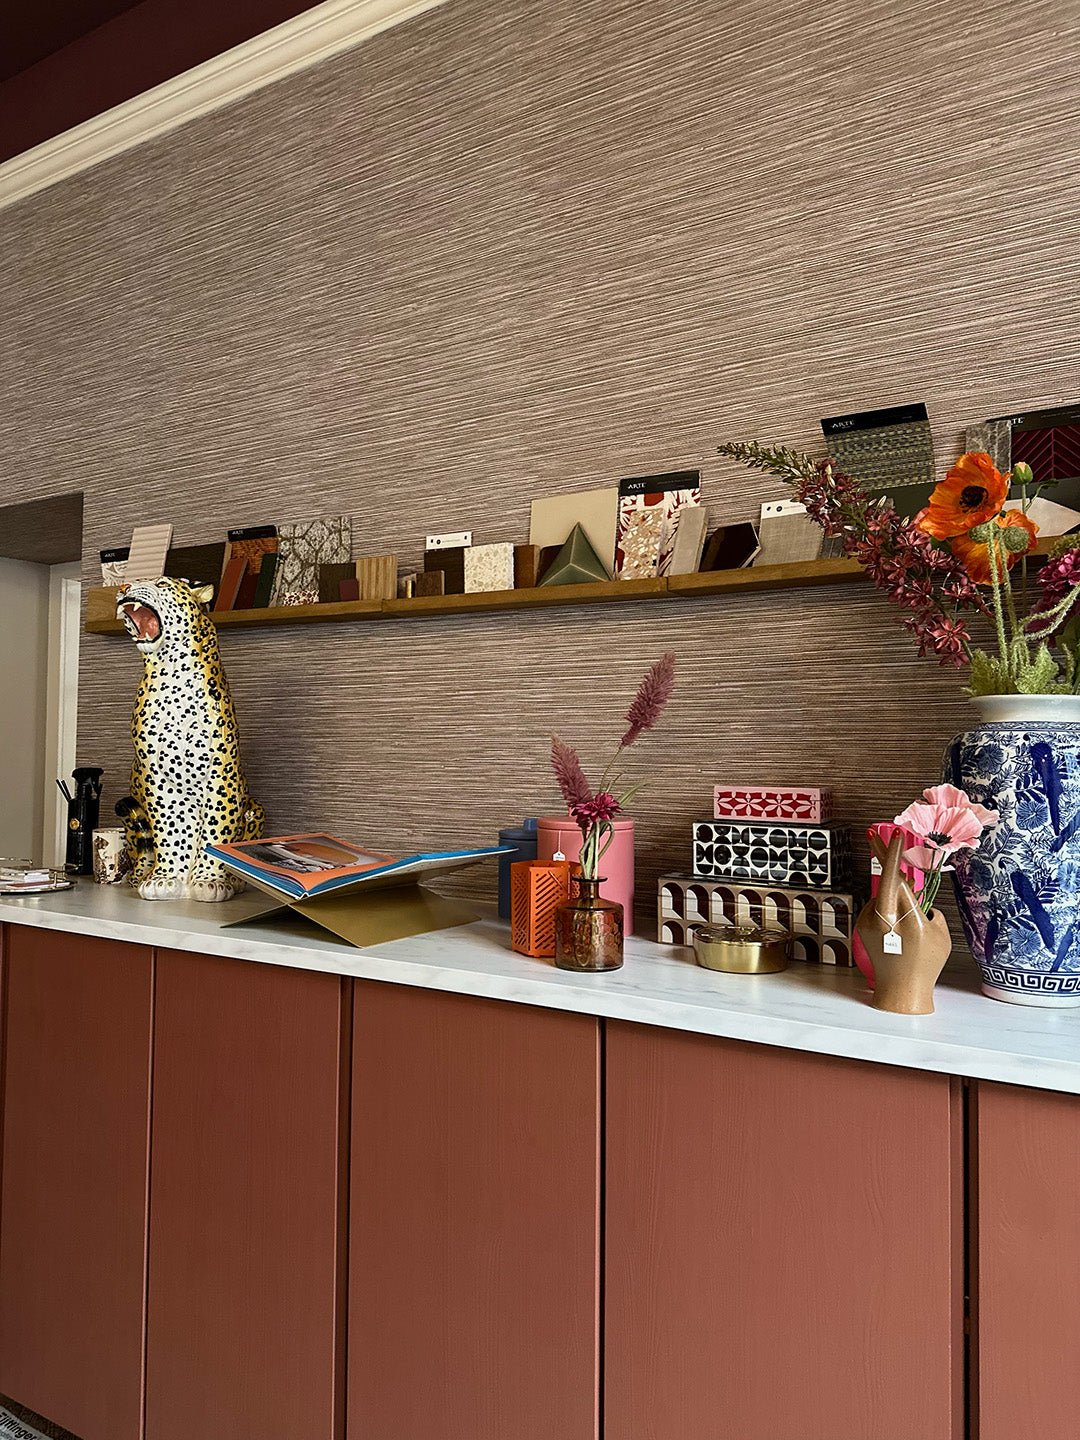
Done! You now have a beautiful, renewed cabinet that gives your interior a fresh look. Such a small project can make a big difference, and the best part is that you can do it in a weekend!
5 Golden tips from Maaike
- Invest in good masking tape. Cheap often means expensive in this regard. Bad tape lets paint bleed through, which will leave you with paint stains anyway.
- Use a paint can opener. This prevents damaging your paint cans, so they remain easier to seal and the paint lasts longer.
- Insert trays for your paint tray. At fairf, they sell bio-plastic inserts so you can reuse your tray endlessly.
- Keep cleaning cloths handy. This way, you can remove paint splatters immediately if you make a mess.
- Want to store brushes and rollers? Wrap them in their original plastic packaging. Make sure no air can get in; that way, the paint won't dry out.
I hope these steps and tips help you with your next project! Share your result on Instagram and tag De Interieurbar. I am curious to see your creations.
Happy painting!
Love,
Maaike