Tips for painting walls
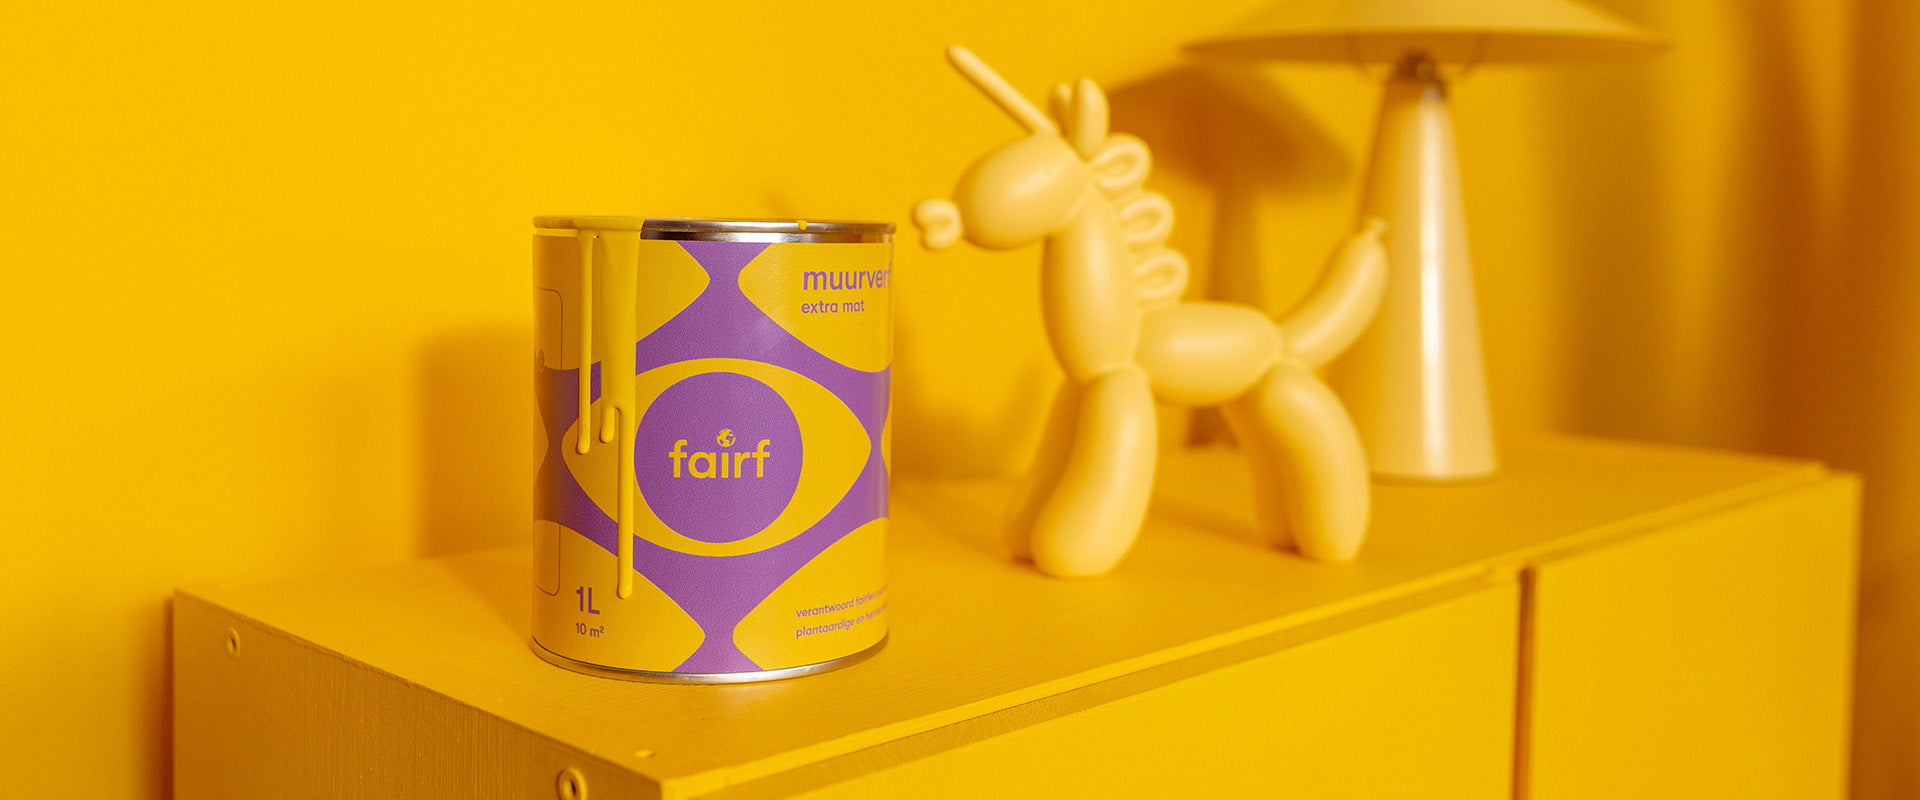
painting tips for wall paint
1. preparation
Are you going to paint with wall paint? Make sure your wall is free of dust and grease, as that is how fairf adheres best. How do you go about making it dust and grease-free? Grab a damp cloth to clean your wall, and—if the wall in question is very dirty—use a degreaser to make your life a little easier. Are you dealing with a highly absorbent surface (you’ll see this very quickly, as your wall will immediately soak up the cleaning session)? Then we recommend a primer. Don't have any? Then it’s a good idea to apply the first coat of fairf diluted with a little water. This way, you can be sure that your first coat provides a good base for a streak-free result.Does your wall need some time to dry after the aforementioned cleaning session? Use that drying time to cover the floor. Fairf is easily removed from the floor with a wet cloth, so no need to panic if you get some on the floor, but having to clean your entire floor after painting your wall isn’t exactly ideal either.
2. masking
In many people’s eyes, this is the least fun job, but it is certainly part of achieving the cleanest paint job possible: masking with tape. Painter's tape normally sticks just fine, but if you are dealing with dusty baseboards, it is smart to wipe them down with a damp cloth first. This allows you to apply the tape as tightly as possible.Tip: Apply painter's tape to the ceiling twice as wide. That is where we see slips with the roller happen most often.
Another tip: Test beforehand to ensure the tape doesn't stick too well and pull the plaster layer off the wall. It would be a shame to spend all afternoon painting only to pull half your wall off when removing the tape. So, if the plaster layer comes off during your test, look for tape specifically made for delicate surfaces. It actually exists.
3. painting
Time for the real work! Slide the wall paint roller fully onto the frame and place it in the designated paint tray. Take the brush out of the packaging. Place the fairf can in a tactical spot; somewhere safely away from any dance moves you might be doing (We all know painting is more fun with music in the background. Check out our own fairf playlist for the most colourful tunes). Open the can and use the stirring stick to mix the fairf well. Then, pour some fairf into the paint tray. For the best result, start with the corners and edges. It is smart to use the brush or a small roller for this. Note: It is important to paint "wet-in-wet." By this, we mean that you shouldn't paint all the edges first and then fill in the rest with the large roller, but work piece by piece. So, start with some edges and corners, fill those in with the roller, then continue to the next set of edges and corners. Work calmly from left to right or top to bottom; that ensures a better result. Always keep your roller in the same direction and don't press too hard. Spread out a small amount of fairf until you hear a sticky sound. Then, take more fairf. If you work this way, you are guaranteed a beautiful colour on your wall, without spots or streaks. Fairf is dust-dry within 20 minutes."
The coverage of fairf is incredibly high! With the right pre-treatment and painting technique, fairf often covers in a single coat. Should it be necessary, you can apply a second coat after one hour—especially with darker colours. Don't forget to cover your used painting supplies in the meantime so you can use them again.
4. cleaning up
Finished painting? Keep leftover paint tightly sealed and frost-free, following the product instructions, for your next project or a small touch-up. Do not pour paint or rinse water containing paint down the drain. Follow the product label and local collection rules for leftover paint, tool cleaning and empty packaging.Above all, don't forget to share a photo of the result with #fairf!