DIY: make an amazing side table
DIY: make an amazing side table
written by: Diederik Zegwaard, publication date: April 26, 2024, the estimated reading time for this text is approximately 10-15 minutes
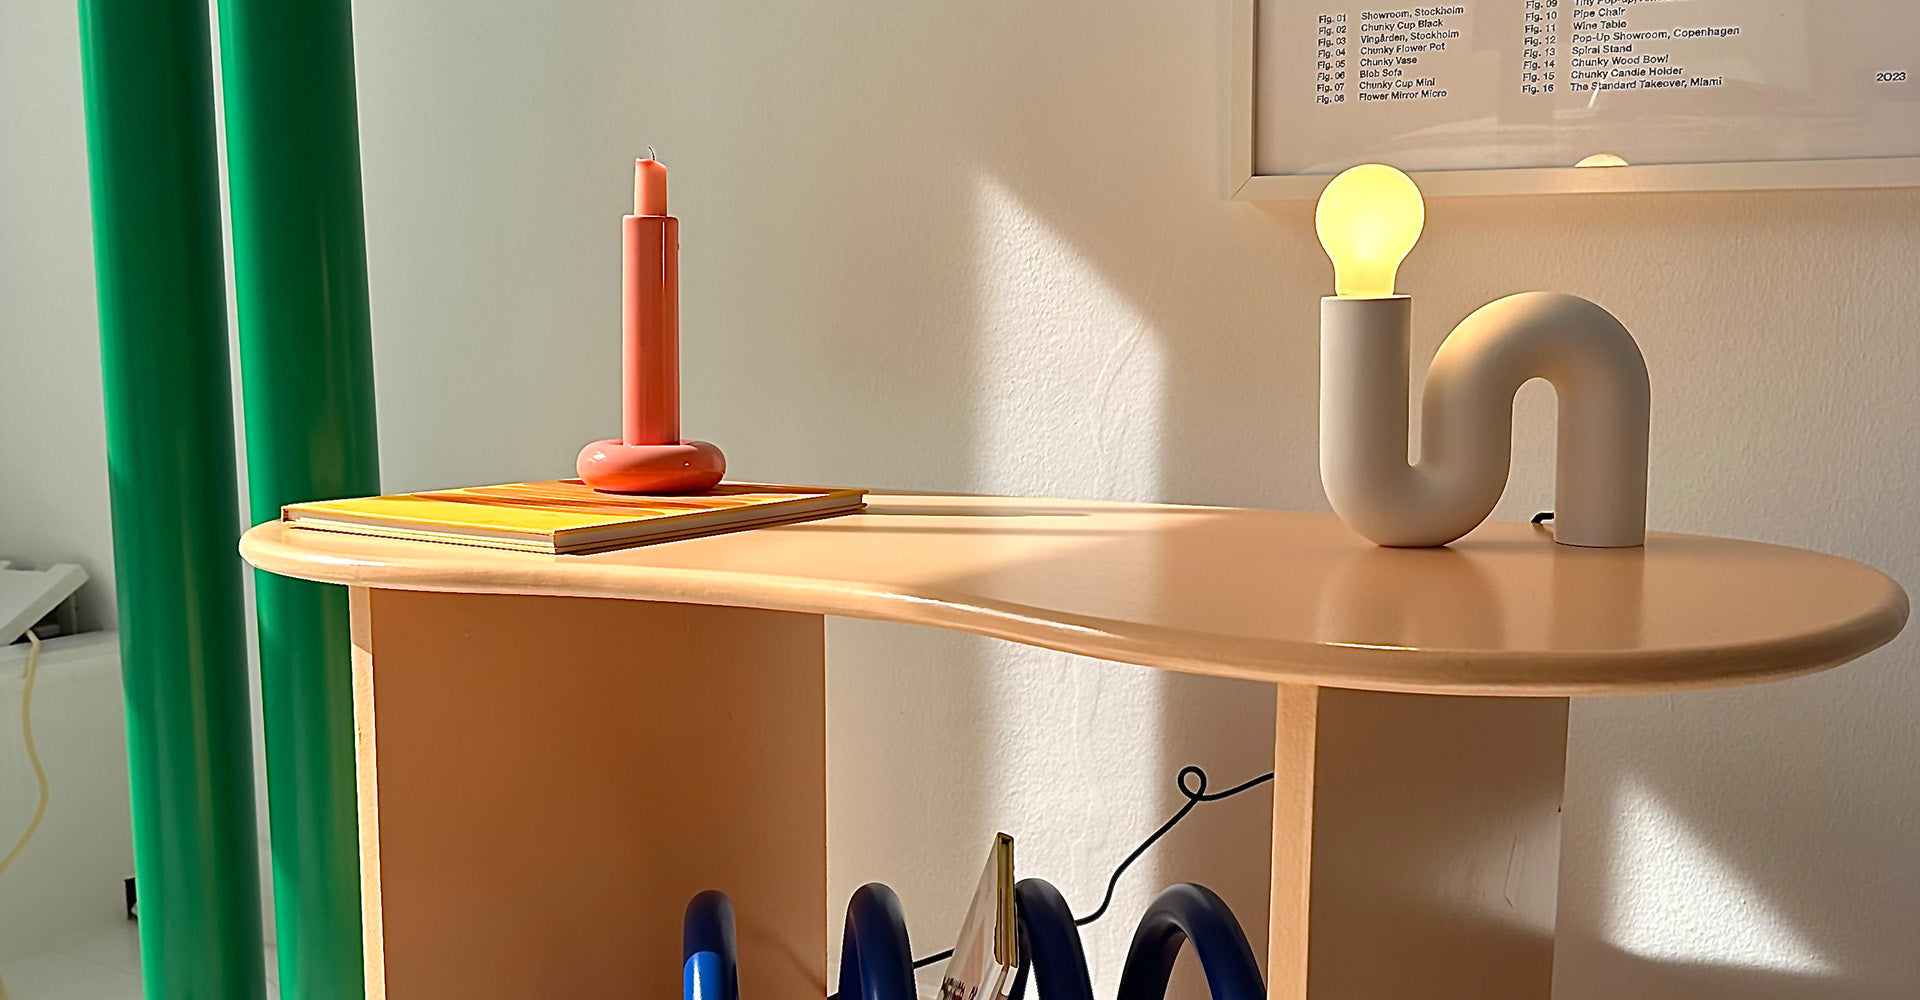
You’ll recognise this: you want a nice piece of furniture, but you just can't find what you're looking for. Why not just make it yourself? Like the blue side table by dondandandy. When I saw her blue piece of furniture, I fell in love immediately. I like this piece so much that I tried to make a look-a-like. In this blog, I'll tell you how you can make this amazing piece of furniture yourself for less than 175 euros!
what do you need?
Below you will find a list of supplies for the side table, all available together with our fairf at Karwei.materials
- 2 x MDF furniture panel of 100 x 50 cm and 18 mm
- 2 x MDF furniture panel of 45 x 50 cm and 18 mm
- 10 x wood dowels
- 4 x corner brackets
- 4 x Duraline furniture leg round with foot ø50 mm (or other legs)
- Wood glue
- 0.75L fairf multi-primer in the colour Sia from the by Fem Amsterdam collection
- 0.75L fairf silk-gloss lacquer in the colour Sia from the by Fem Amsterdam collection
- Paint tray
-
Paint tray liner
- Paint brush
- 2 lacquer rollers
- Paint roller handle
- Measuring tape
- Pencil
- 6 long screws
- 32 small screws no longer than 18mm
- Sandpaper grit 120 & 180 & around 300
tools
- Cordless drill
- Router
- Jigsaw
- Circular saw (optional)
- Sander
Tip: many DIY stores rent out tools. Useful if you need them for just one project. Compare the rental price with buying and choose what suits your task. Looking for a place to work? In Amsterdam there is DE OPENBARE WERKPLAATS where you can reserve a workspace. Facilities like this are surely also available in other municipalities.
This way, you won't be short on tools and you won't have a mess at home. A win-win!
Let's get started
Step 1:
You need a total of 4 boards: 2 x MDF of 100 x 50 cm and 18 mm thick, and 2 x MDF of 45 x 50 cm and 18 mm thick. Have the boards cut to size at Karwei to make it easier for yourself. In that case, you won't need a circular saw.
Board names:
Step 1:
You need a total of 4 boards: 2 x MDF of 100 x 50 cm and 18 mm thick, and 2 x MDF of 45 x 50 cm and 18 mm thick. Have the boards cut to size at Karwei to make it easier for yourself. In that case, you won't need a circular saw.
Board names:
- Board 1a and 1b: the tabletops
- Board 2a and 2b: the supporting middle boards, which go between board 1a and 1b.
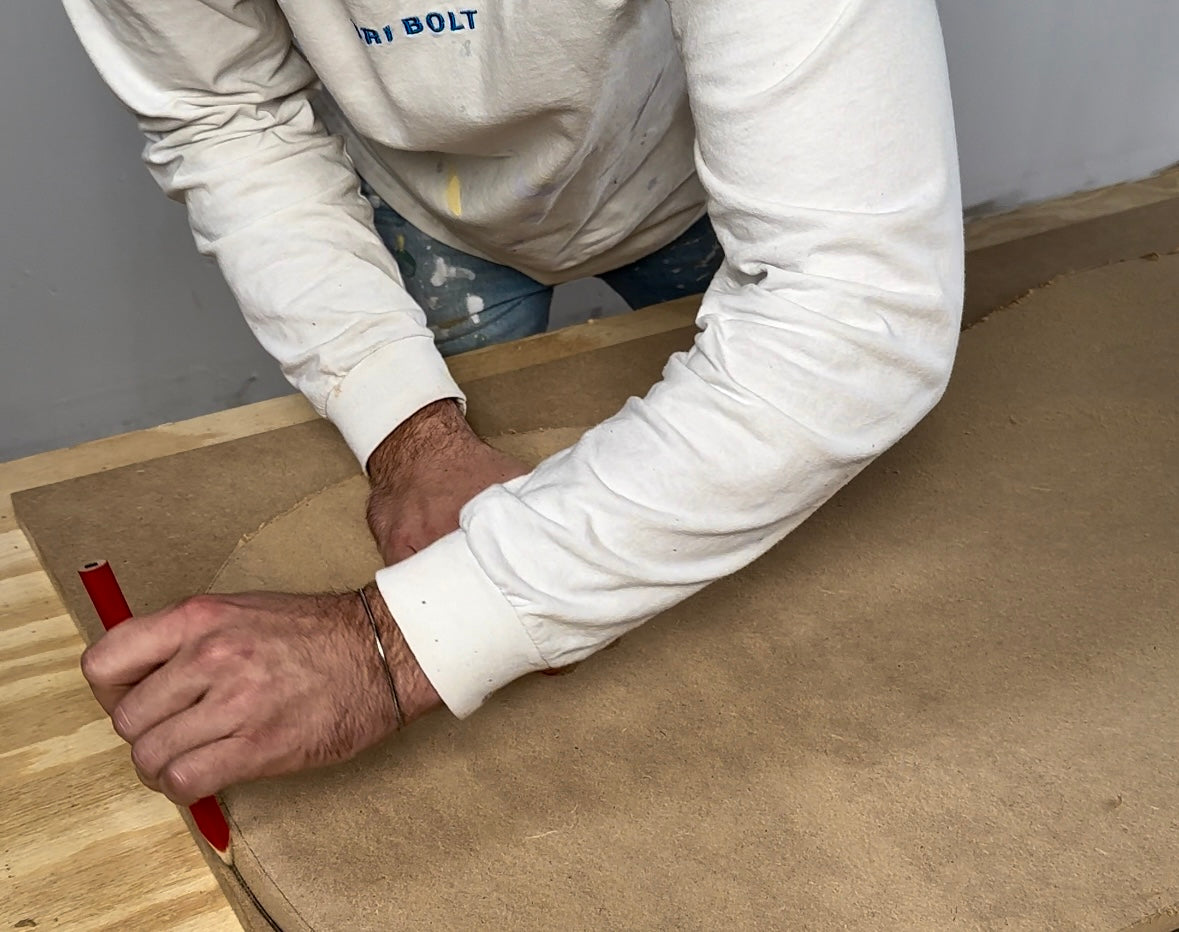
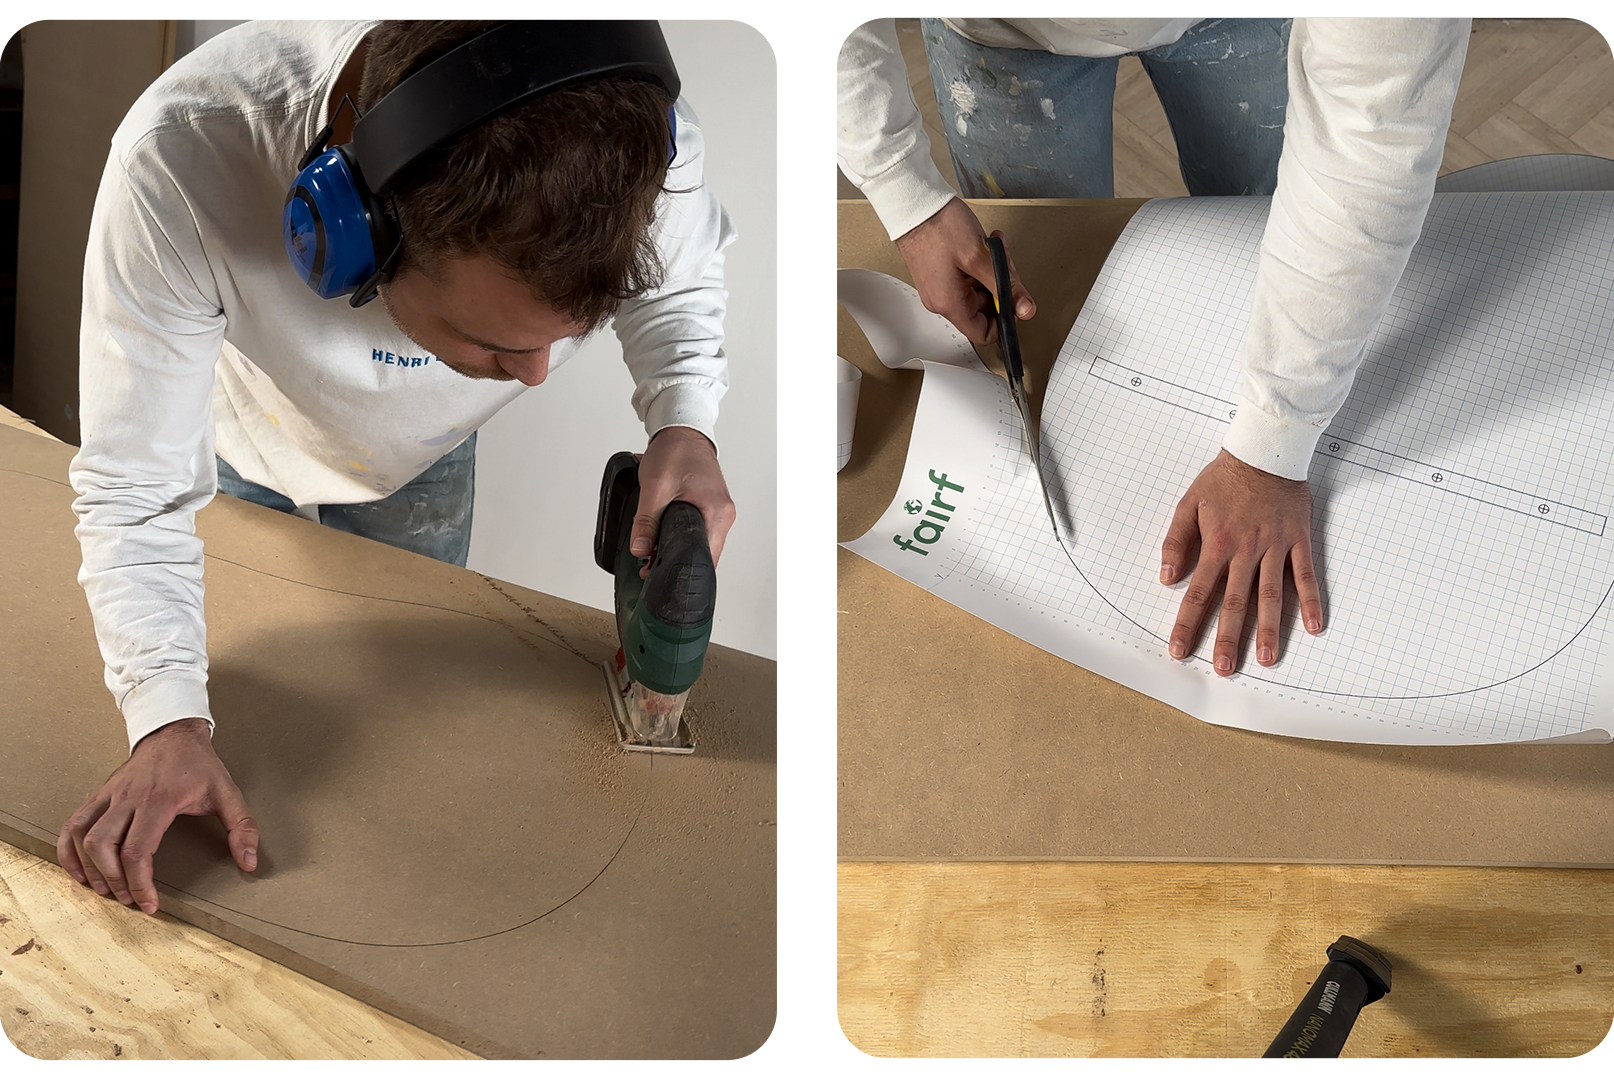
I made my design on the computer first and then printed the shape, as seen in the photo. Do you want to use my design? You can download it here and have it printed at the desired size, after which you can cut it out.
Step 2: Routing your boards
For a nicely rounded result, you need to route board 1a and 1b. Pay close attention to the rotation direction of the router bit while routing.
For a nicely rounded result, you need to route board 1a and 1b. Pay close attention to the rotation direction of the router bit while routing.
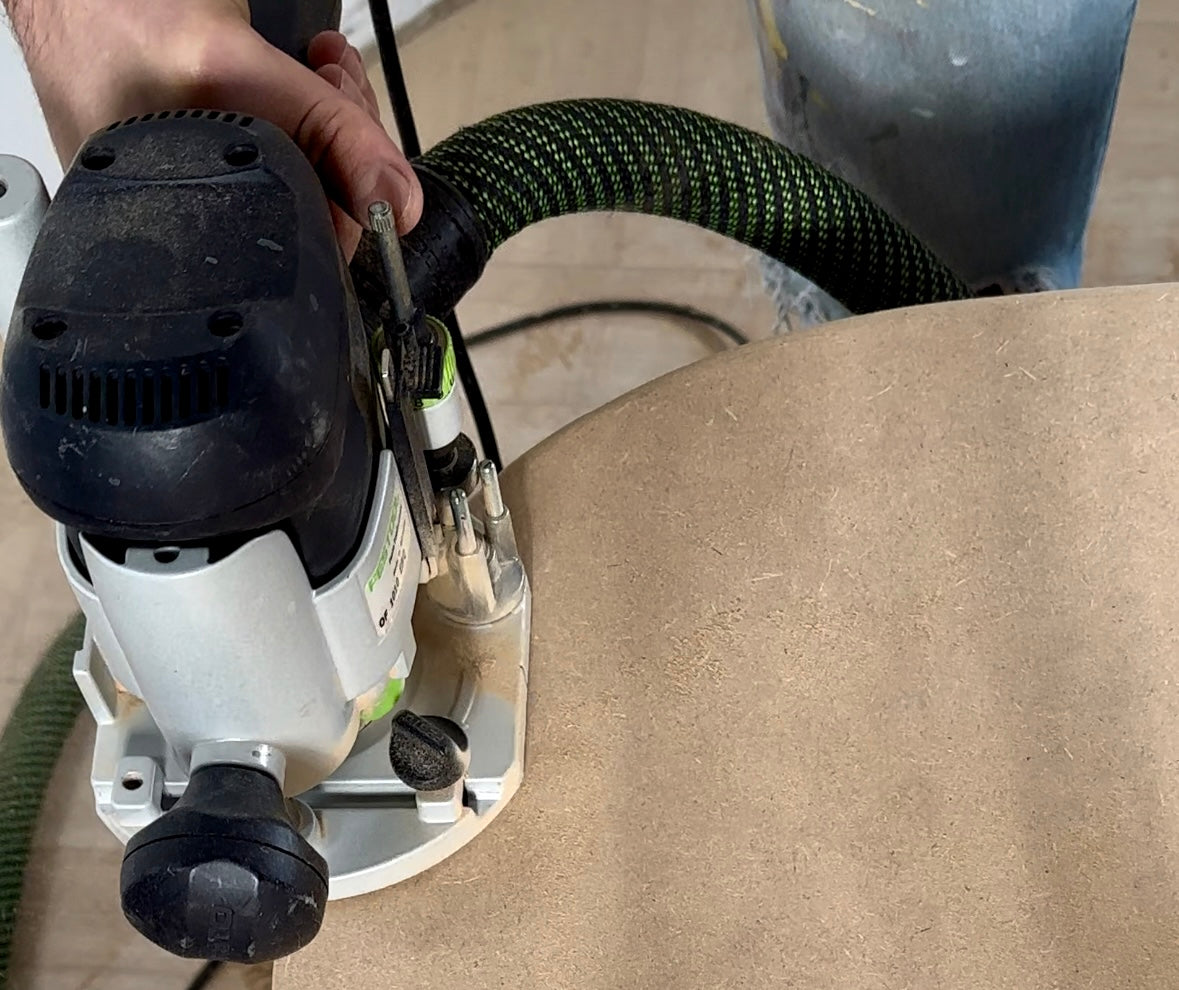
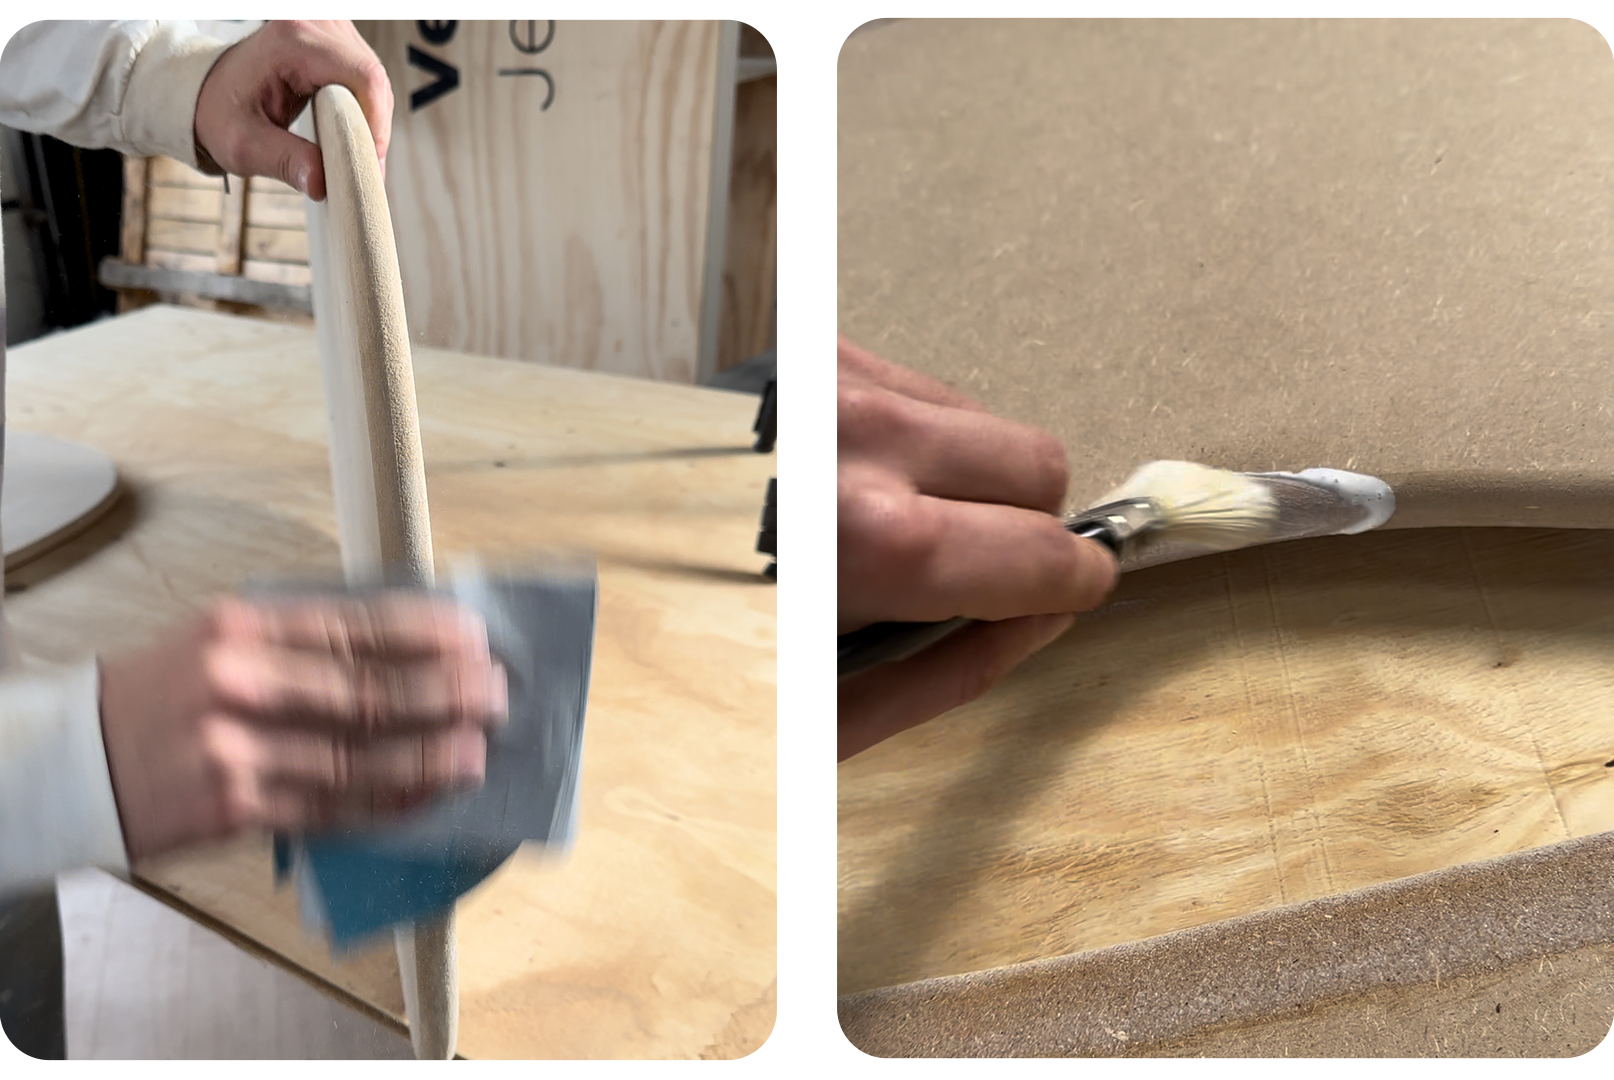
After routing, sand the edges neatly with grit 120 sandpaper to ensure the edge of the board becomes nice and smooth and round.
MDF has a tendency to absorb water, causing wood fibres to expand and the surface to become rough. To prevent this, first coat the edges with a 50/50 mixture of wood glue and water and let it dry. Then sand the edges again lightly with grit 180 sandpaper.
MDF has a tendency to absorb water, causing wood fibres to expand and the surface to become rough. To prevent this, first coat the edges with a 50/50 mixture of wood glue and water and let it dry. Then sand the edges again lightly with grit 180 sandpaper.
Step 3: Pre-drilling holes for the dowels
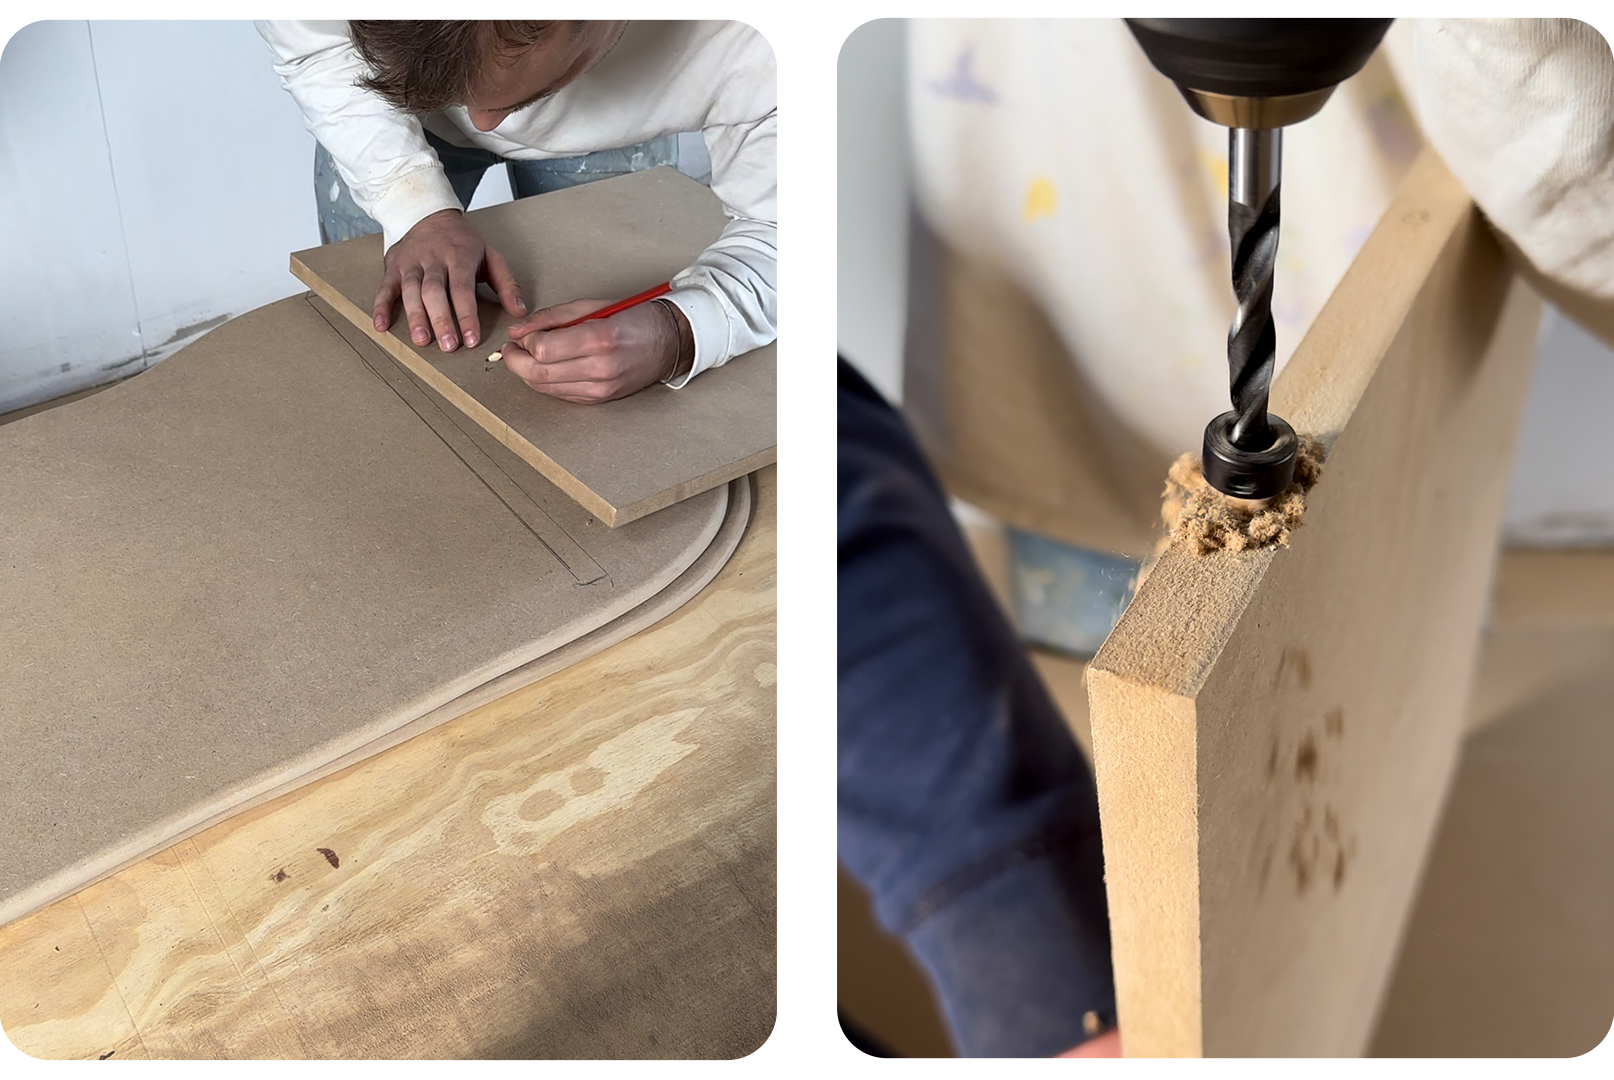
Karwei has already explained what dowels are and how to place them in this blog. Before you start pre-drilling the holes, it is important to determine which board is left and which is right. Put a small arrow on the inside of both board 2a and 2b. Before doing that, check that both boards are completely identical. If they aren't, you'll run into trouble when you assemble your furniture, because they will be uneven and board 1a and 1b won't align neatly with 2a and 2b. You naturally want to avoid that. Determine the location by carefully measuring where boards 2a and 2b should go by marking them on 1a only. Use 4 to 5 dowels on the bottom side for both board 2a and 2b.
Karwei has already explained what dowels are and how to place them in this blog. Before you start pre-drilling the holes, it is important to determine which board is left and which is right. Put a small arrow on the inside of both board 2a and 2b. Before doing that, check that both boards are completely identical. If they aren't, you'll run into trouble when you assemble your furniture, because they will be uneven and board 1a and 1b won't align neatly with 2a and 2b. You naturally want to avoid that. Determine the location by carefully measuring where boards 2a and 2b should go by marking them on 1a only. Use 4 to 5 dowels on the bottom side for both board 2a and 2b.
Step 4: Painting!
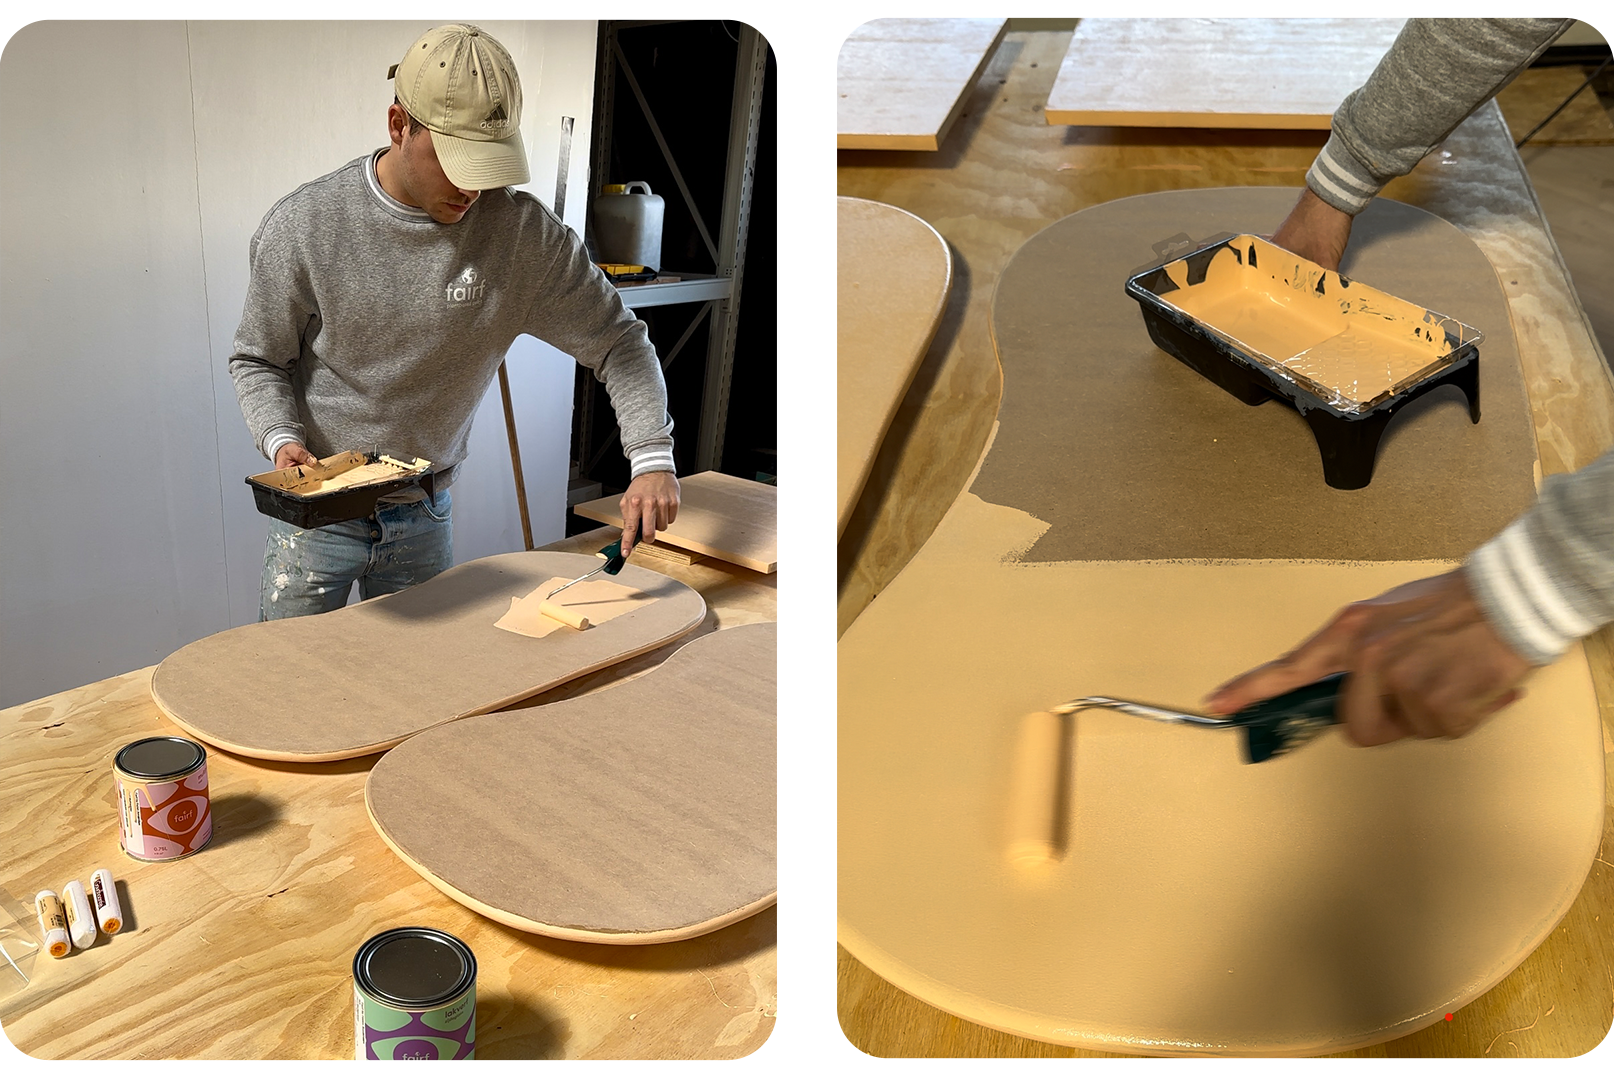
And then the most fun of all: you get to paint! Start with the multi-primer. Apply this to all boards according to the instructions on the paint can label. Use a brush first to paint all the edges, followed by a roller for the rest of the board. Work from left to right and then from top to bottom to get a streak-free result and to ensure the multi-primer covers evenly. Once the indicated drying time has passed, lightly sand with grit 180 sandpaper until the rough feeling disappears. Repeat this step on both sides, so both the bottom and top sides of the boards.
The lacquer, first coat: Use a brush first to paint all the edges, followed by a roller for the rest of the board. Again, work from left to right and then from top to bottom to get a streak-free result and to ensure the lacquer covers nicely and evenly. Repeat this step on both sides of the boards, so both the top and the bottom side.
Step 5: Assembling the furniture
(I forgot to document this step, so here are some other images that will hopefully help you understand what I mean, haha)
(I forgot to document this step, so here are some other images that will hopefully help you understand what I mean, haha)
- Place board 1a (the bottom of your furniture) on your workbench. Drill two small holes between the holes for your dowels, so that you know later where to place the long screws. You may drill all the way through the board. Ensure this is done neatly in line with where boards 2a and 2b will be placed.
- Apply a drop of wood glue into all the holes where a dowel is to be placed. Place the dowels in the holes. Take board 2a, apply wood glue in those holes as well, and a line of glue on the edge. Place board 2a on board 1a and press firmly. Repeat this for board 2b.
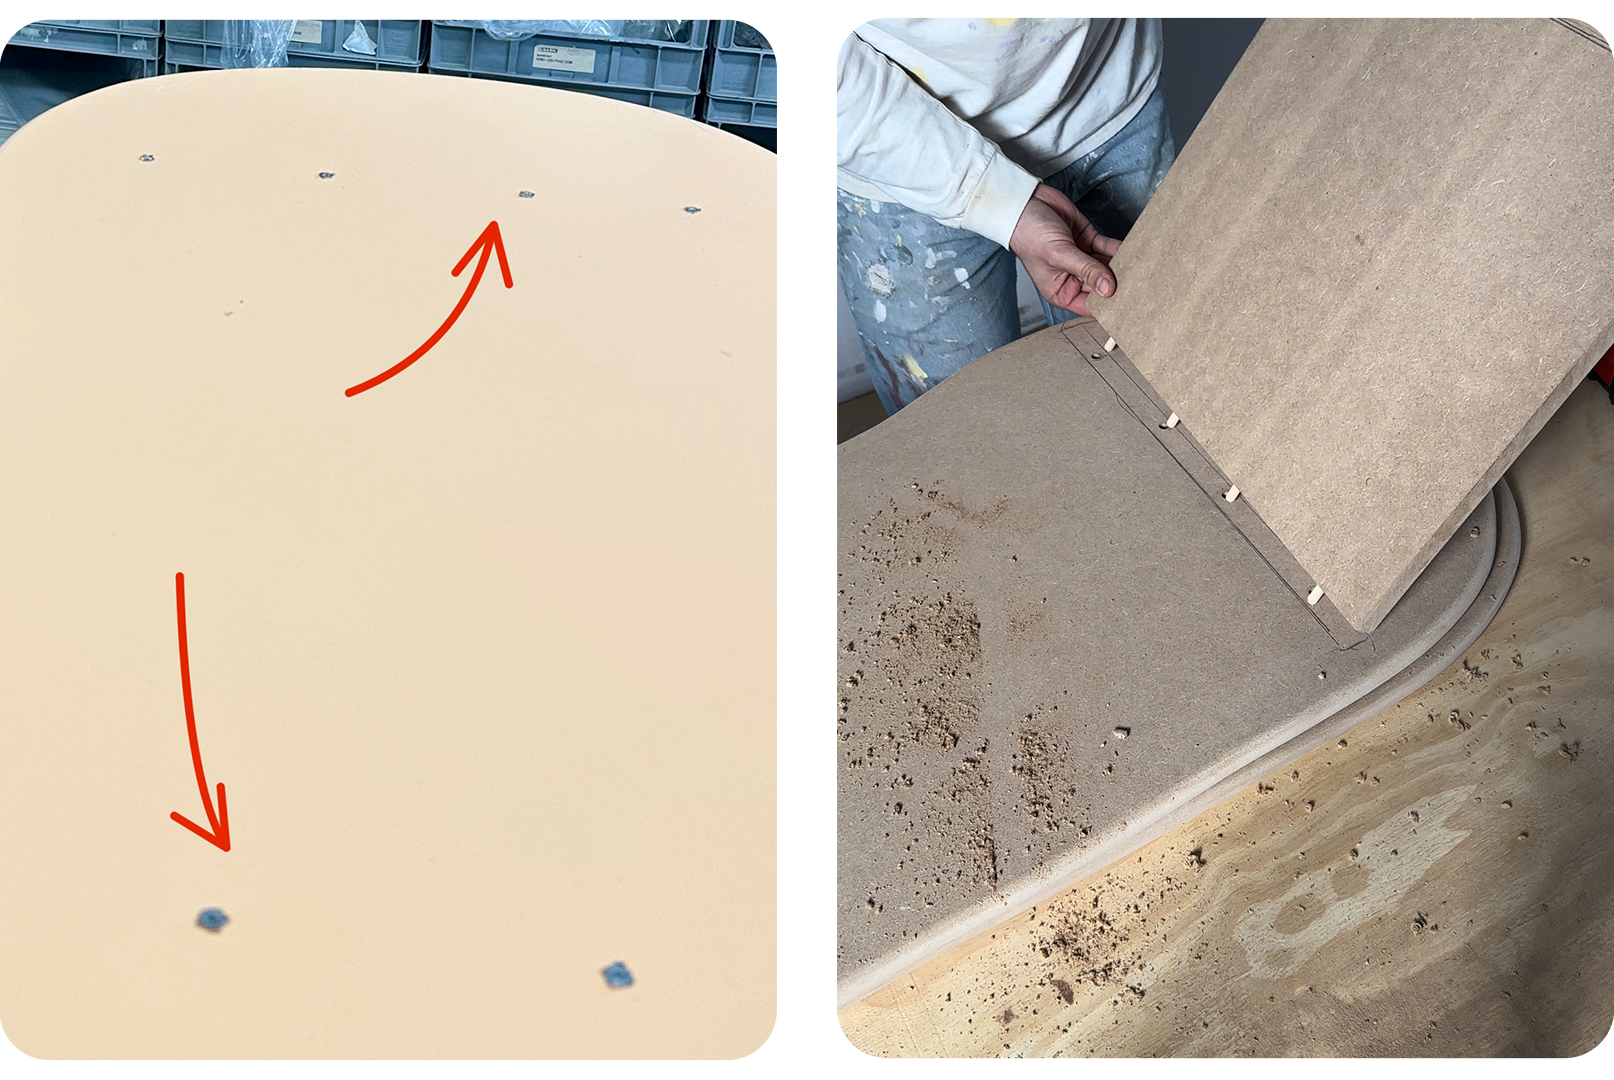
4. Turn the construction over so that it rests on boards 2a and 2b. Now drive a long screw into each pre-drilled hole, straight through board 1a into boards 2a and 2b.
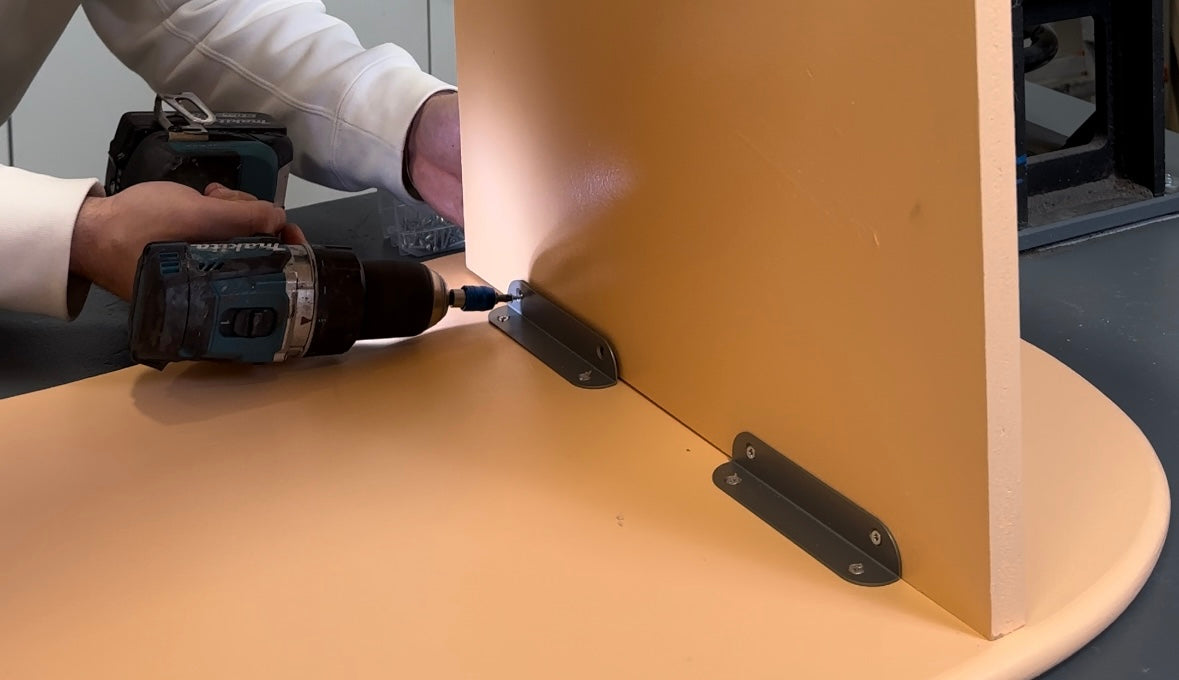
5. Place board 1b ready with the future top side facing down on your workspace. Place the construction on board 1b. Check if boards 2a and 2b are in the right place. Then attach the four corner brackets to the inside of the board with the shorter screws. Just like I do in the photo below!
6. Turn the furniture over again so that the bottom is on top. Measure accurately where you want the legs to be and attach them with the small screws that are no longer than 18mm, using the cordless drill.
Step 6: Painting again!
It is time to give your furniture the finishing touch by applying one final coat of lacquer. Before we do this, it is important that you sand everything nicely with a fine grit 300 sandpaper. You do this for good adhesion. Feel with your hand if you have any bumps or rough spots and make these areas nice and even.
Once you have done this, wipe the side table down with a damp cloth so that there is no more dust on it. Grab your lacquer and apply a final coat with your brush and roller. Start with your brush in the corners and edges, after which you finish the surfaces with the roller. Again, work from left to right and then from top to bottom, this way you get a nice streak-free result and you will notice that the lacquer covers nicely and evenly.
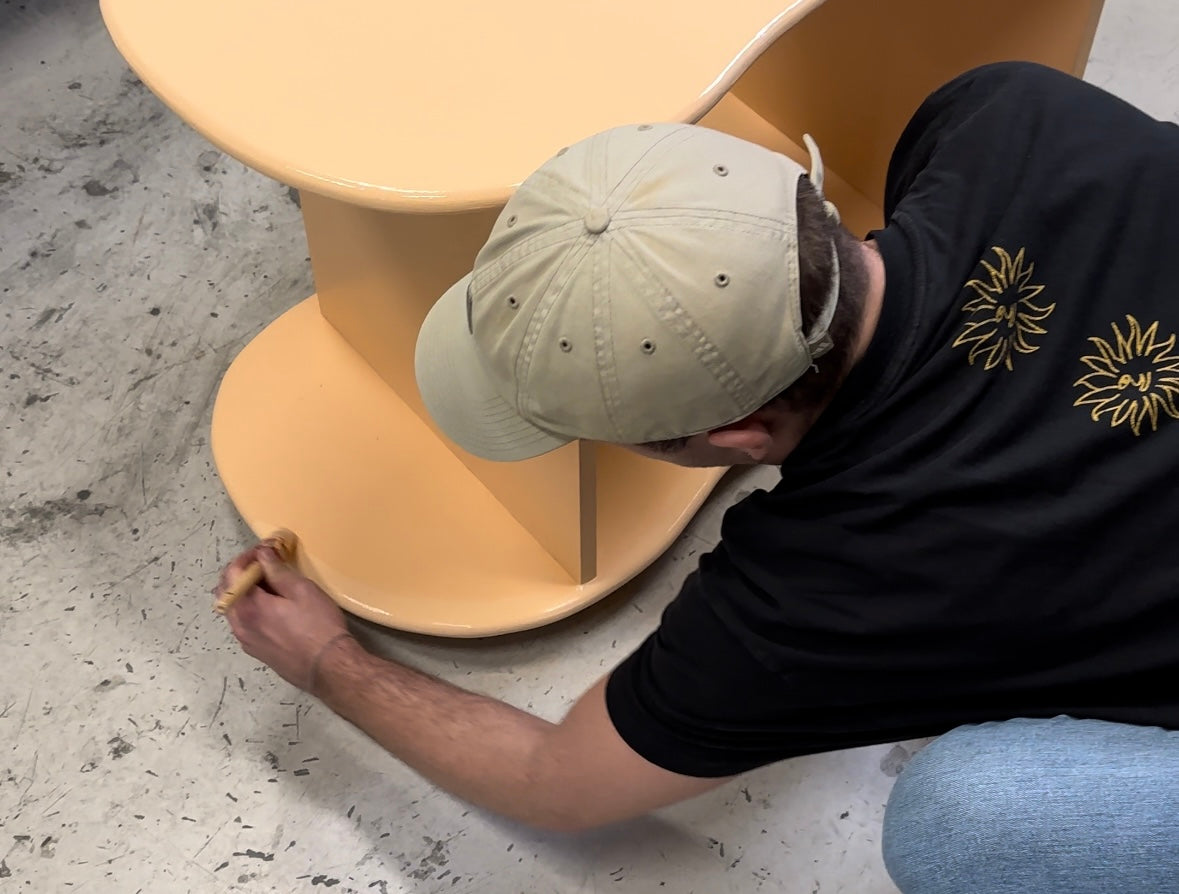
And tadaa: your furniture is finished! Did you make it to this step? Then we are very curious about the end result. You can share the result with us via @fairf.duurzame.verf and #verfmeteenmissie.
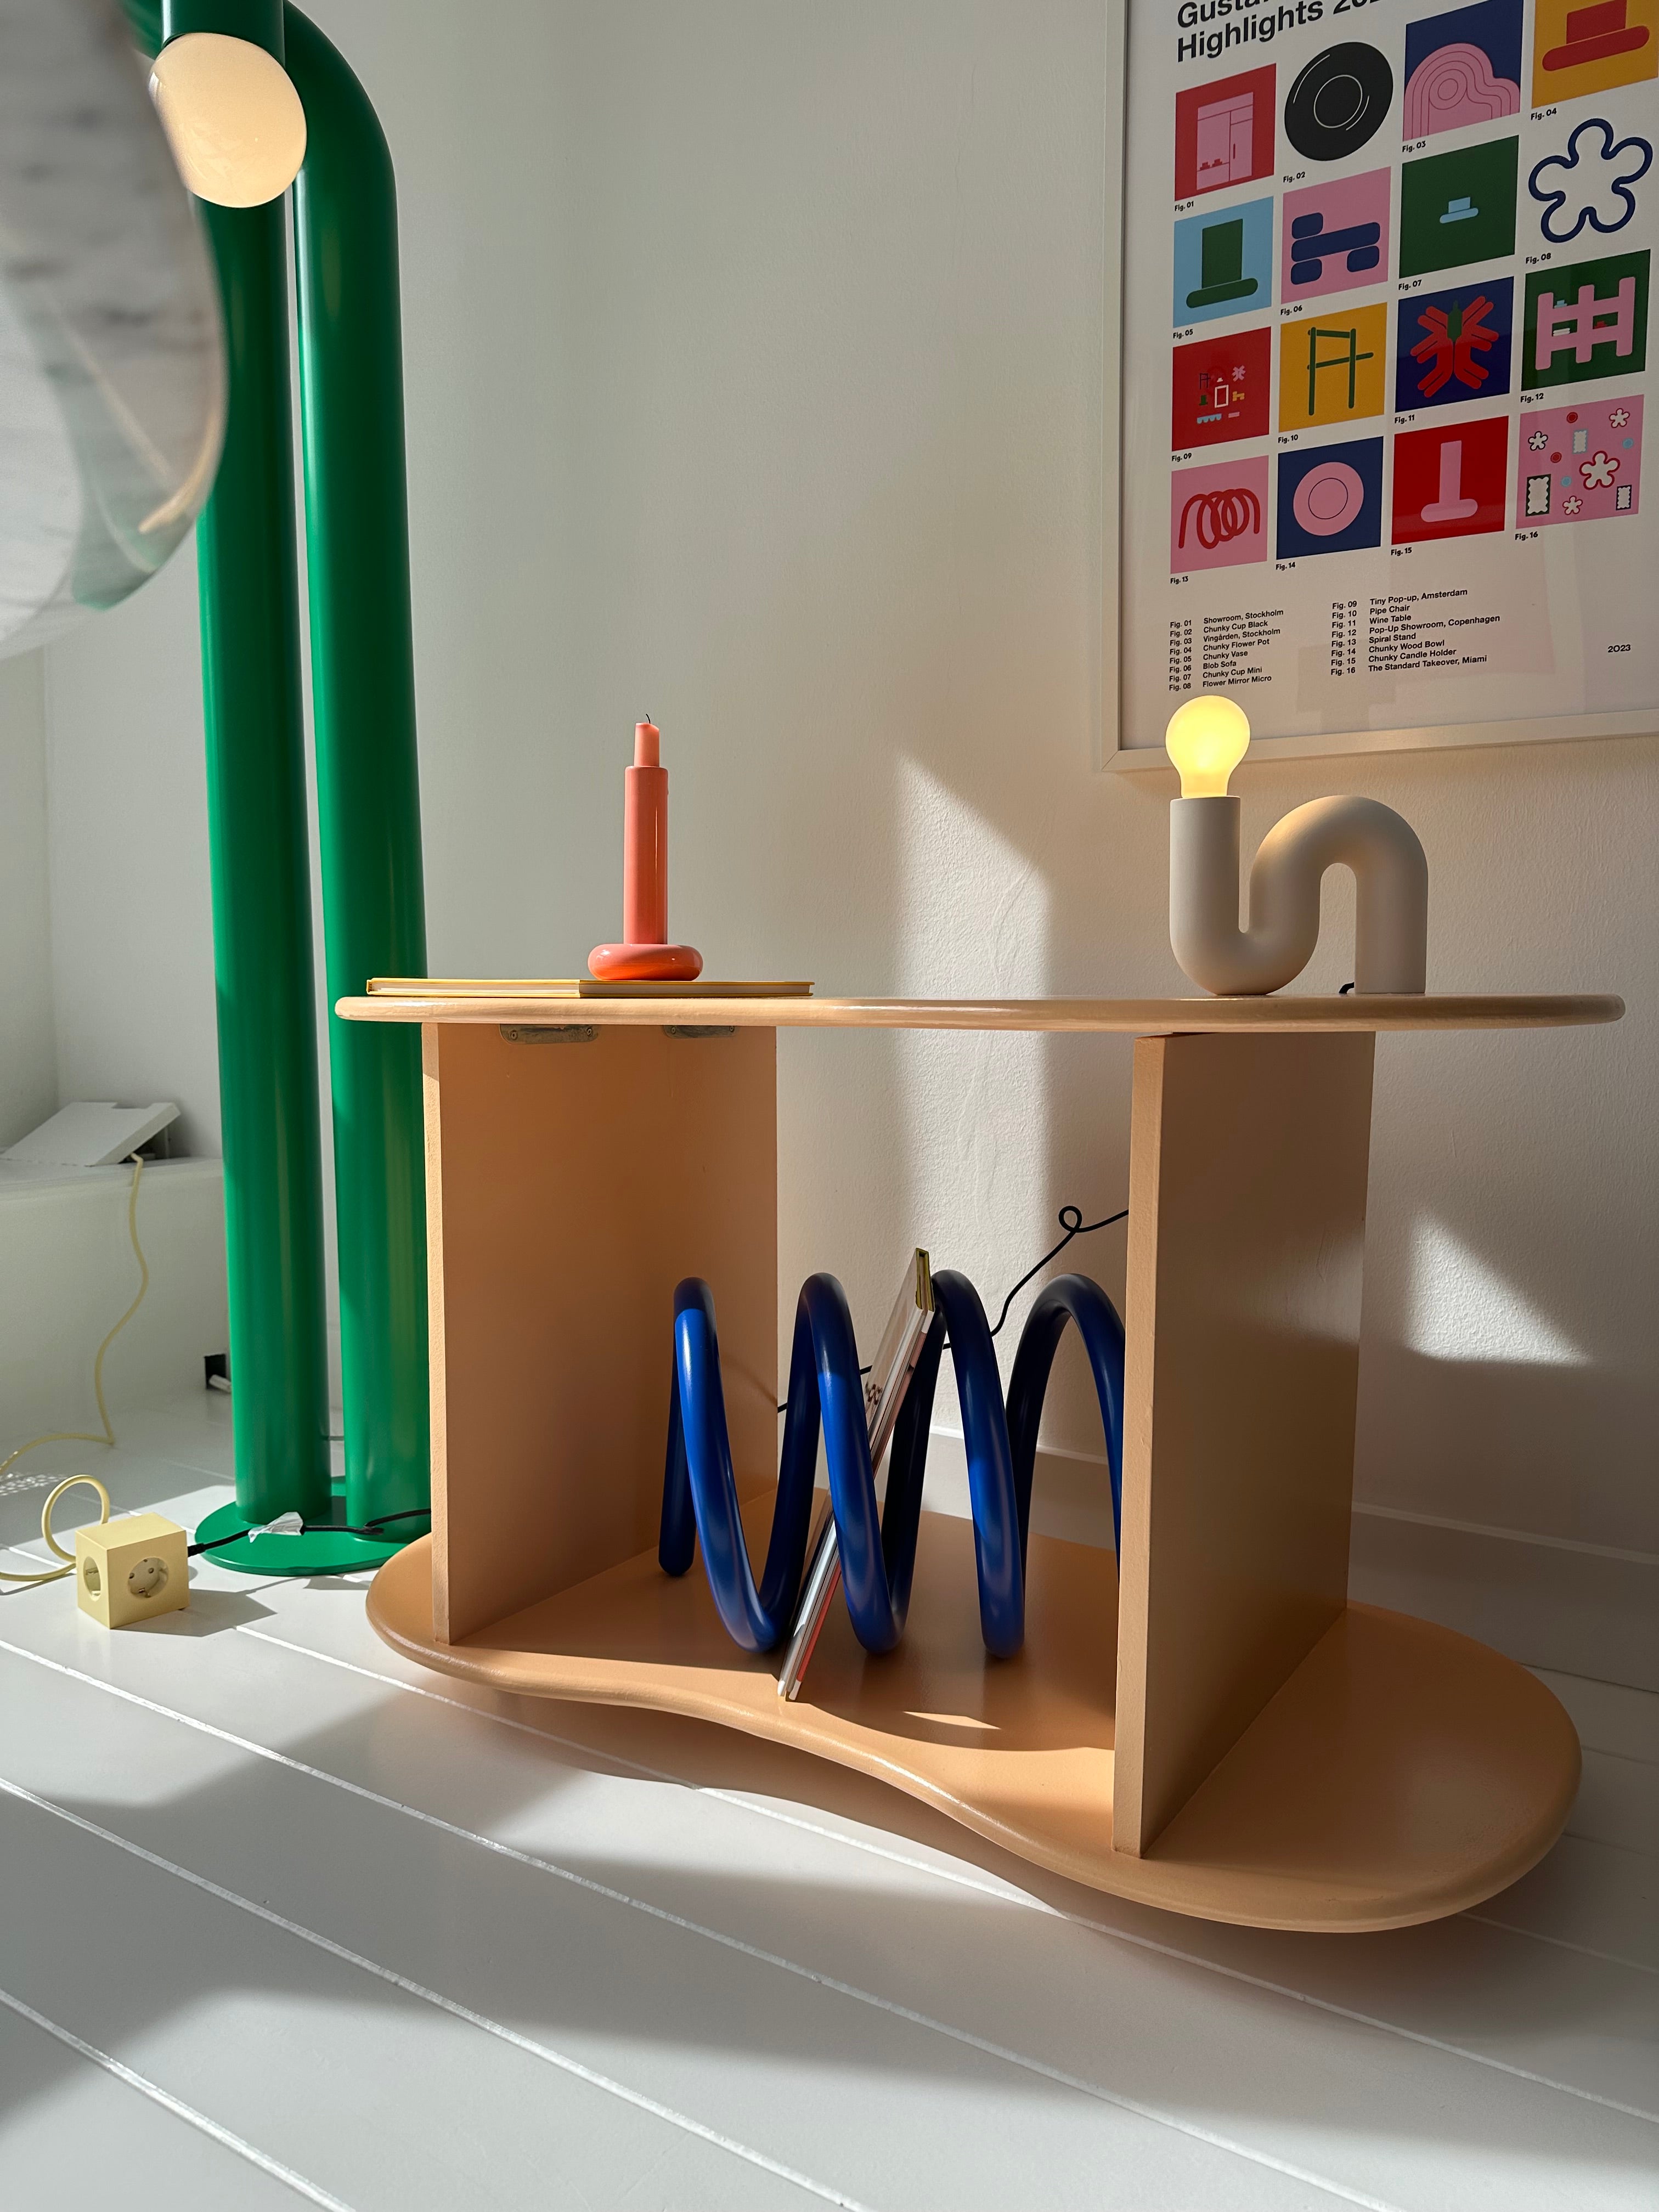
I am really super happy with the end result. It was my first time making a piece of furniture. So if I can do it, you can too!
do you have questions about fairf or this DIY?
Then please contact us, we would be very happy to help you!