Painting furniture
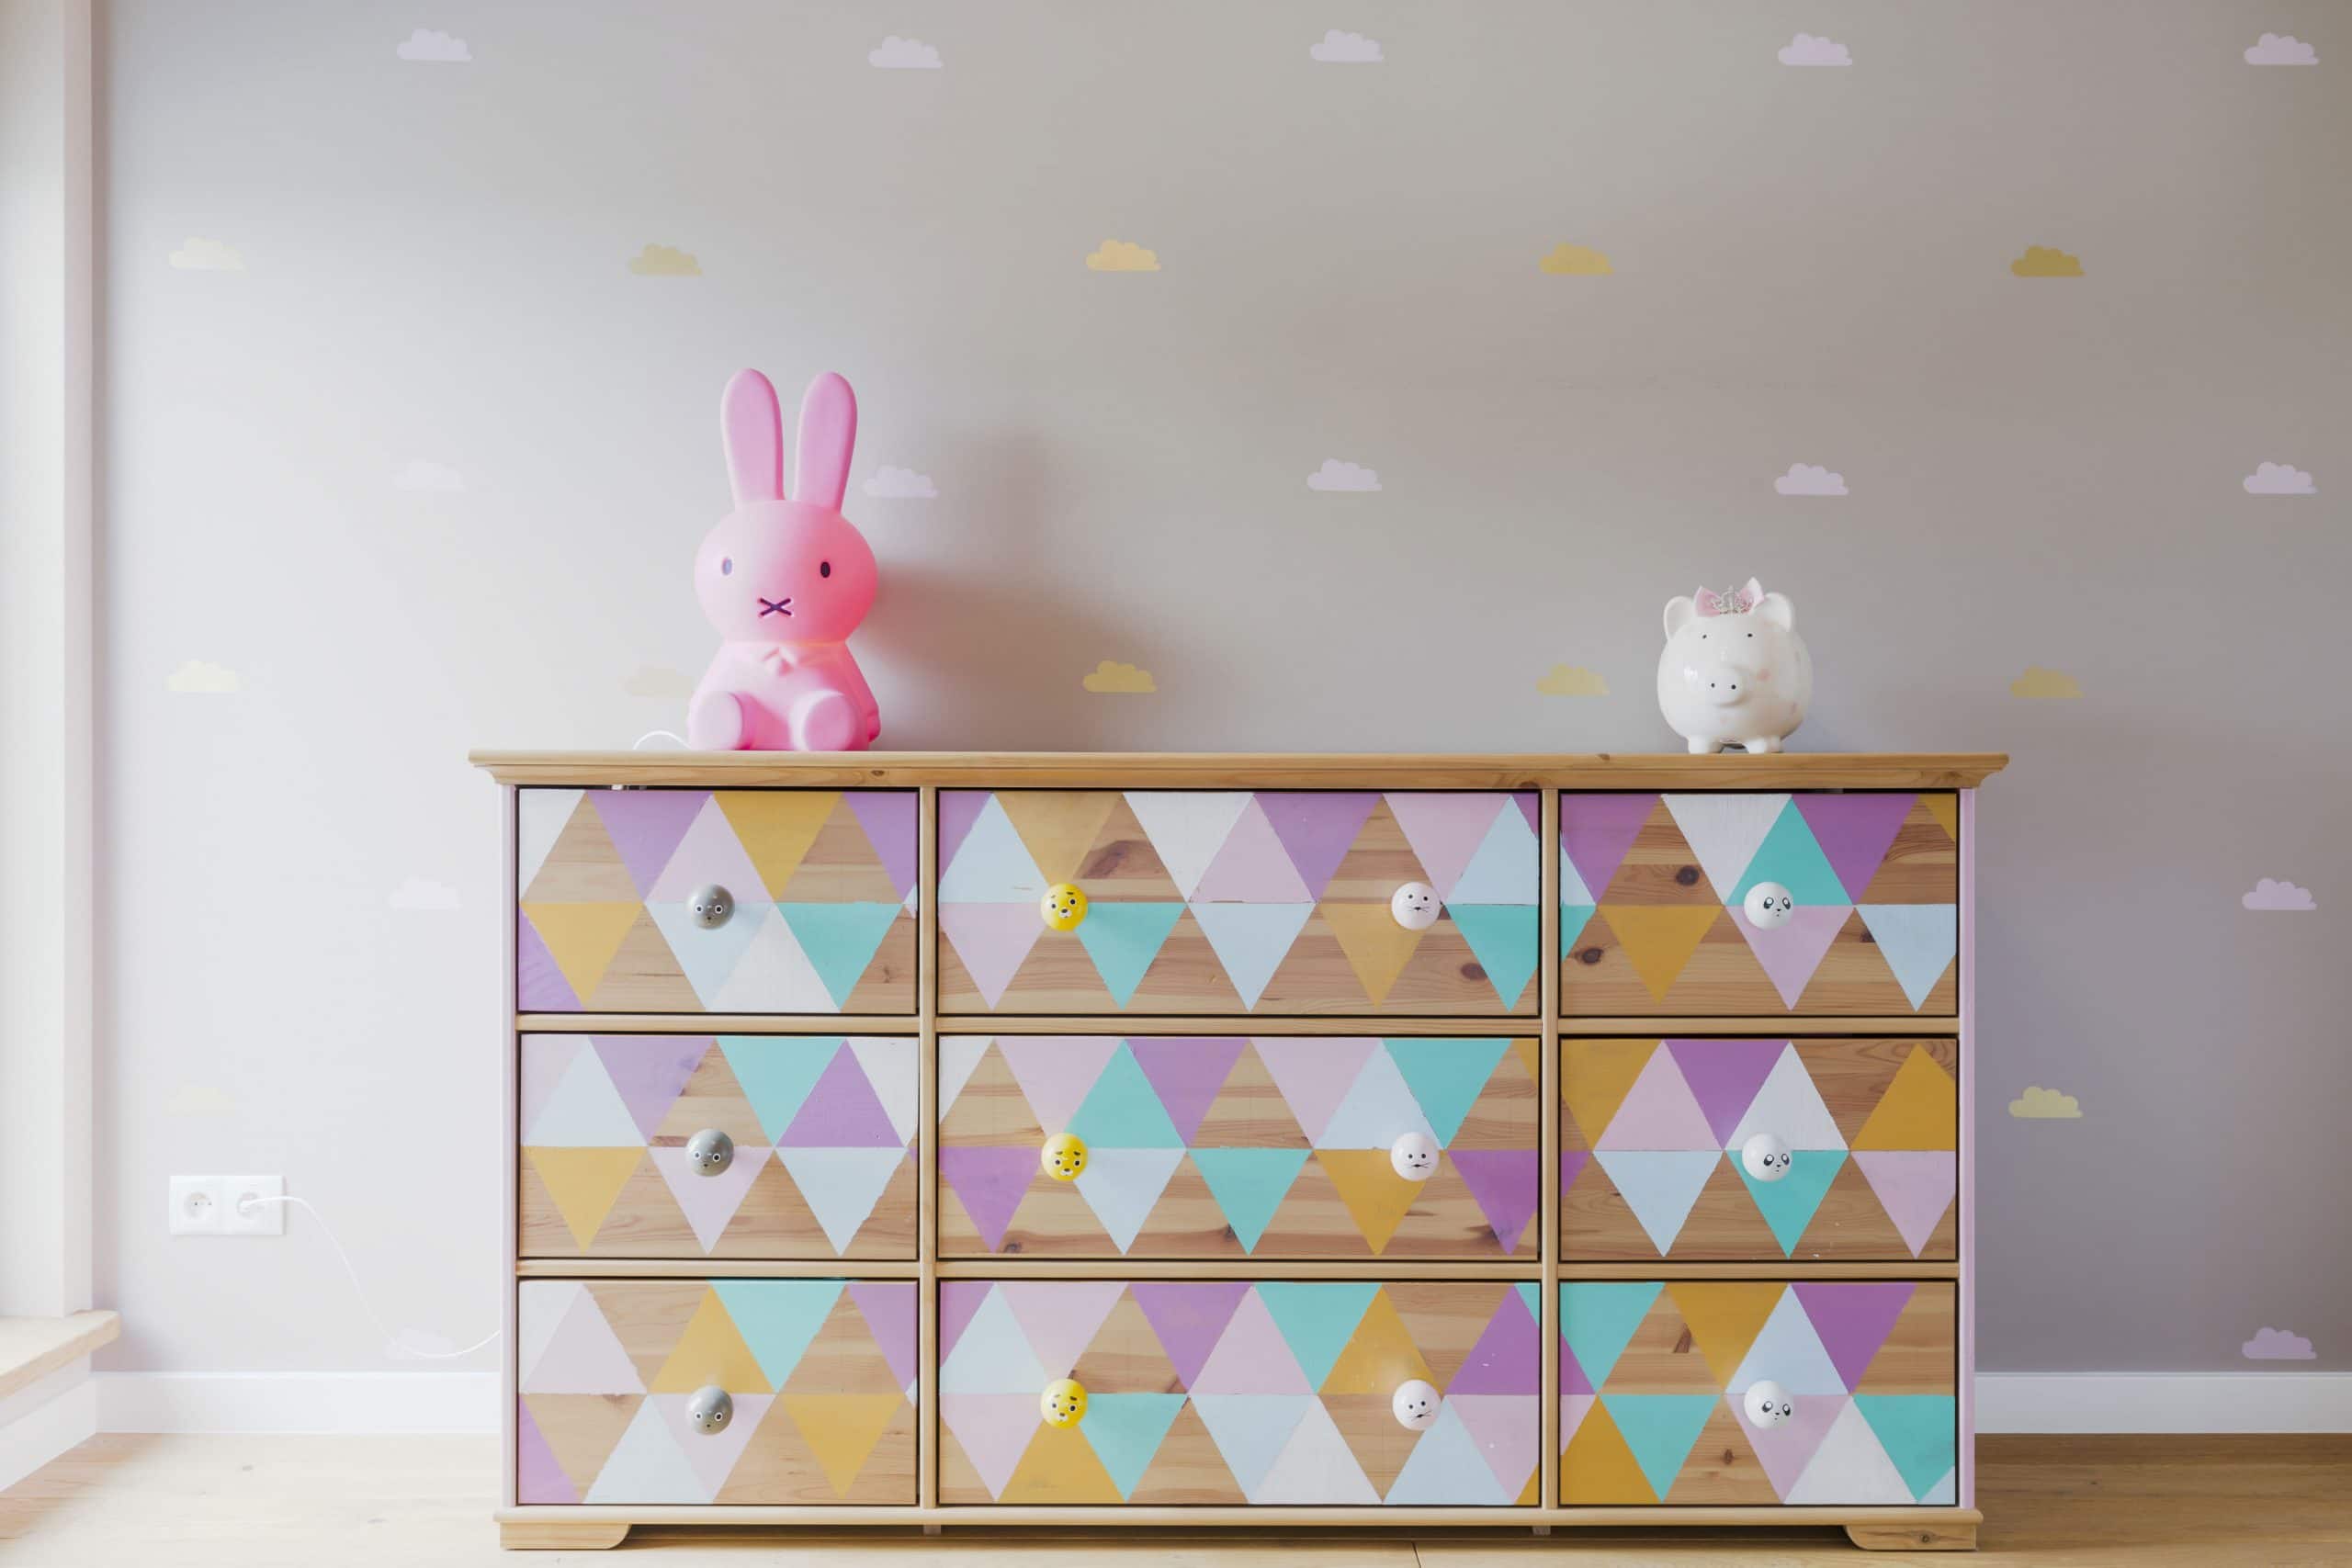
painting furniture
How fun is it to refurbish an old dresser, crib, or cupboard yourself! It gives your interior a unique style all its own.
step-by-step plan

Before you begin, you should first inspect the surface thoroughly. If the surface has not been pre-treated, we recommend applying a coat of multi-primer first. Multi-primer ensures good adhesion of our paint and thus a longer lifespan. Are you painting over an existing layer of paint? Then sand it down first with sandpaper of the correct grit. Always wear safety goggles and a dust mask when sanding. Then clean the surface and make it grease-free with a damp cloth and some cleaning agent.

Do you not want to paint the entire piece of furniture or do you want to create a specific pattern? If so, mask off any edges or parts. Test in advance to make sure the tape doesn't stick too firmly. If it does, choose tape that is suitable for delicate surfaces.

Open the can and use the stirring stick to mix the paint well. Then pour some fairf into the tray. For the best results, work part by part, for example, drawer by drawer or side by side. Apply enough paint to the furniture and spread it out with long strokes. The paint will now level out and form a smooth layer.

Do not apply fairf too thickly. The paint is dust-dry within 30 minutes. In principle, one coat provides coverage, but for the best protection, we recommend applying a second coat after 1.5 to 2 hours. Don't forget to properly cover your used tools in the meantime.

When the painting is finished, you can wipe the residue off the brush and rollers with an old cloth. Then rinse them out with water and dry the brushes further with a cloth. Once the brushes and rollers are completely dry, you can store them until your next adventure. Remove any tape. Do this as soon as the paint is dust-dry.